1. Introduction to Axure RP
Welcome to Axure RP! To begin, watch this video for an overview of creating and sharing prototypes. You’ll learn about pages, widgets, interactions, dynamic panels, and how to preview and publish your prototypes.
If you haven’t installed Axure RP yet, follow the steps below. Be sure to check out the Prototyping Basics file for some hands-on learning.
Download and install Axure RP from axure.com/download. When you open RP, create your account or sign in.
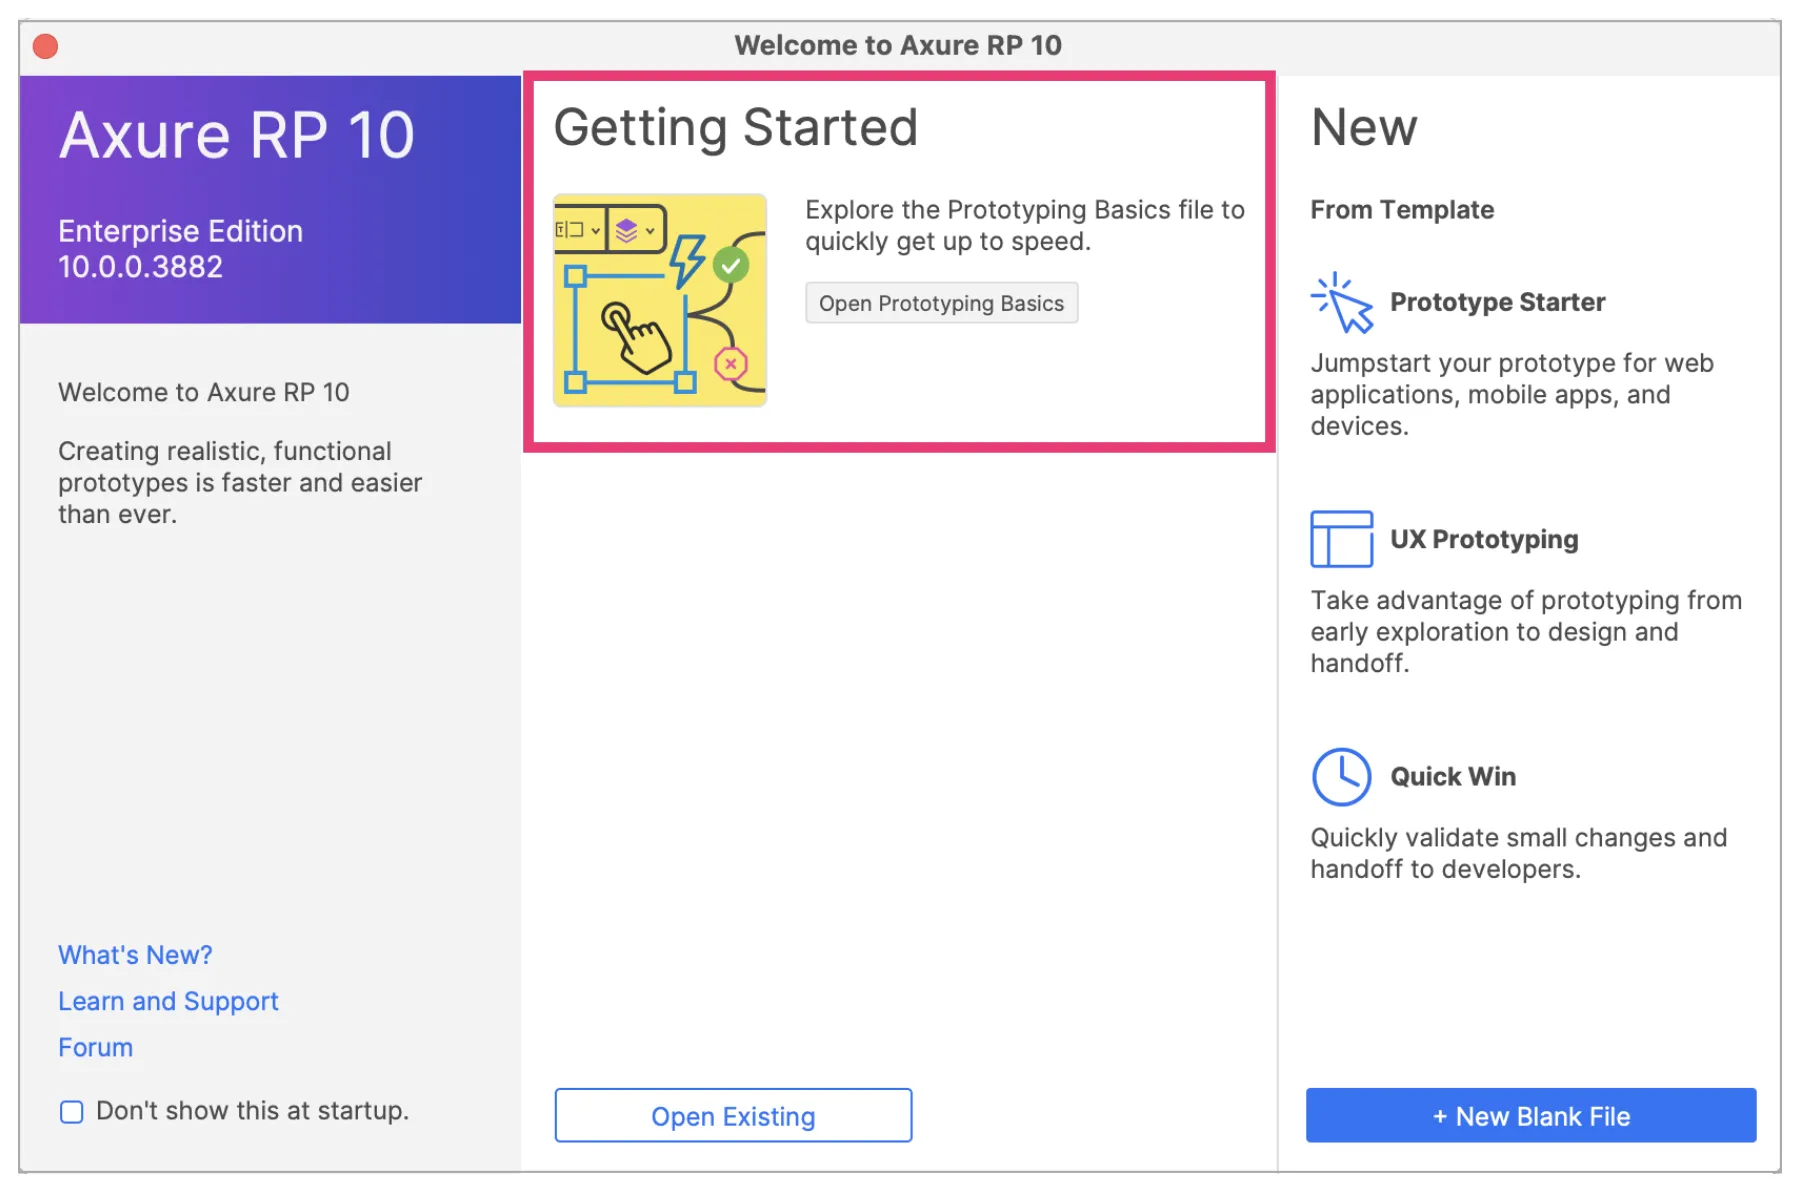
From the Welcome Screen, you can open the Prototyping Basics file for some exercises to get started.
For reference, here is a quick overview of the Axure RP environment.

- Main Toolbar and Style Toolbar: Perform common actions like arranging widgets, styling widgets, and publishing. Change the cursor tool between selection modes, connector mode, and drawing tools.
- Canvas: Lay out widgets on this drag-and-drop environment. You can change its color and dimensions, add a grid and guides, and toggle the visibility of the rulers.
- Pages: Add, remove, rename, and organize the pages in your file.
- Outline: View a searchable, sortable, and filterable list of all widgets, components, and dynamic panels on the current diagram.
- Libraries: Resource for widgets such as buttons, images, text and shapes. Drag the widgets from the Libraries pane and drop them onto the canvas. Via the Libraries pane you can switch between libraries of widgets, load additional libraries, and create your own custom libraries. You can also load folders of images from a local drive.
- Components: Add, remove, rename and organize components, which are centrally managed sets of widgets that you can reuse throughout your file.
- Style: Edit widget and page styling.
- Interactions: Add and edit interactions and other interactive properties on the page or selected widget.
- Notes: Add and edit widget and page notes.
For more details on the Axure RP environment, check out Axure Docs.
Now head over to the next article to learn about Working with pages.