New in Axure Cloud: Inspect Your Designs
If you’ve been spending time in the new Axure Cloud interface recently, you may have noticed a few new features: Project overviews for RP 9 files now include a thumbnail preview of each page; you can make project URLs private so that only workspace members can access them; and you can extract style and layout information from the widgets in your designs.
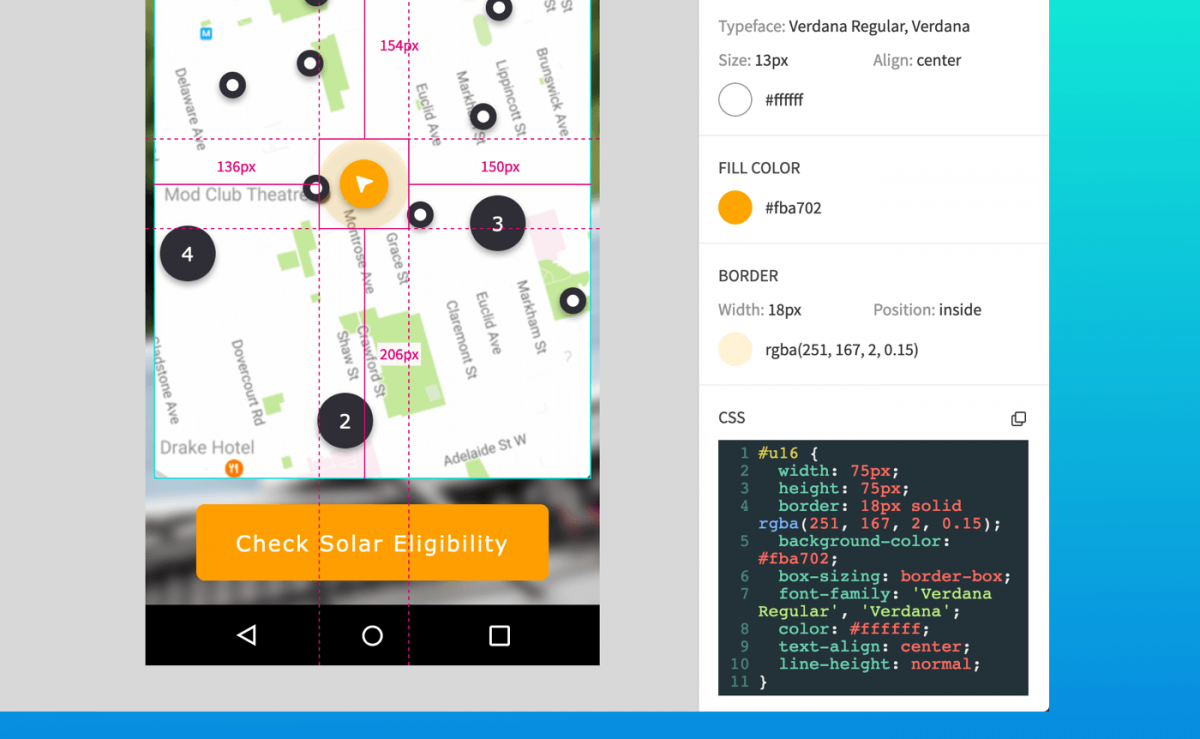
That last feature is available in the Inspect tab of the prototype player, and we’re hoping it will improve the way you work with your design and development teams. Using the Inspect tab, anyone with access to a project’s workspace can view a summary of the CSS, text content, and positioning information for any widget in the project. This is aimed at making it easier to hand off design specifications from Axure RP.
Inspecting Your Designs
Note: This feature is only available for RP 9 files. To convert files from previous versions of Axure RP, open them in RP 9, save, and re-publish to Axure Cloud.
-
Log in to app.axure.cloud and click on a project’s name.
-
In the project overview, hover over the thumbnail of a page you want to work with and click Inspect.

-
Hover over a widget on the page to see redlines, and click it to view further information in the sidebar to the right. You can quickly copy any of the widget’s CSS or its text content, and you can download image files from image widgets.

Tip: If a page’s content can change interactively, click Preview at the top of the interface to interact with the page, and then switch back to Inspect to work with the page in its new state.


Giving Access to Designers and Developers
-
If you haven’t yet created a workspace in Axure Cloud, click the Create Workspace button (+) in the left sidebar to set up a new workspace to share with your team.

-
Give the workspace a name, and enter your teammates’ email addresses in the text box below. If they don’t already have Axure Cloud accounts, they’ll receive an email inviting them to sign up for free.
Note: To add teammates to an existing workspace, click its name in the left sidebar and then click the Manage Users button at the top-right of the page.

-
After your teammates accept the workspace invitation, they can follow the steps in the section above to inspect projects you add to the shared workspace.


As always, we’re eager to hear what you think! If there’s anything you’d like to see added to help with your developer handoff or if you run into any technical issues, please let us know at support@axure.com.
Related Posts
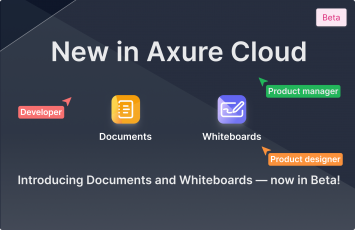
Documents and Whiteboards are now available in Axure Cloud
Axure Documents and Whiteboards are now available in Axure Cloud. They are currently in beta and are free to use!
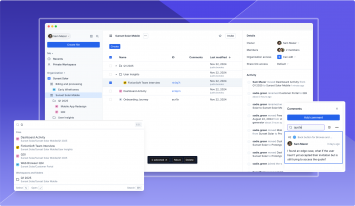
Introducing the new Axure Cloud
We’re thrilled to announce a major refresh to Axure Cloud, featuring a fresh design and significant improvements under the hood.

New ISO 27001 Security Certification
We are excited to announce that Axure is now ISO 27001 certified, setting the framework for managing and protecting sensitive company and customer information.