5 Tips for a Smooth Transition from Axure RP 8 to Axure RP 10
If you haven't checked out RP 10, you can download your free 30-day trial here!
When it comes to software, it's easy to get comfortable using the same version for a few years, especially when you have the application layout customized just the way you like it and know your keyboard shortcuts from muscle memory. So when hearing the news that Axure RP 10 has been released, you may not be comfortable moving on from RP 8, or even RP 7. Don't worry though; we're here to help! With these 5 tips, the transition from RP 8 to RP 10 will be smooth sailing, and you'll be on your way to prototyping with the most powerful edition of Axure RP yet.
Tip 1: Move Around Panes to Customize Your Layout
In Axure RP 10, the default layout of the Axure RP environment has the Pages, Outline, Libraries, and Components (formerly called Masters) panes on the left, and the Style, Interactions (formerly Properties), and Notes panes on the right. You can rearrange the panes by clicking and dragging them, and you can even pop them out into a separate window.

Tip 2: View All Dynamic Panel States at Once
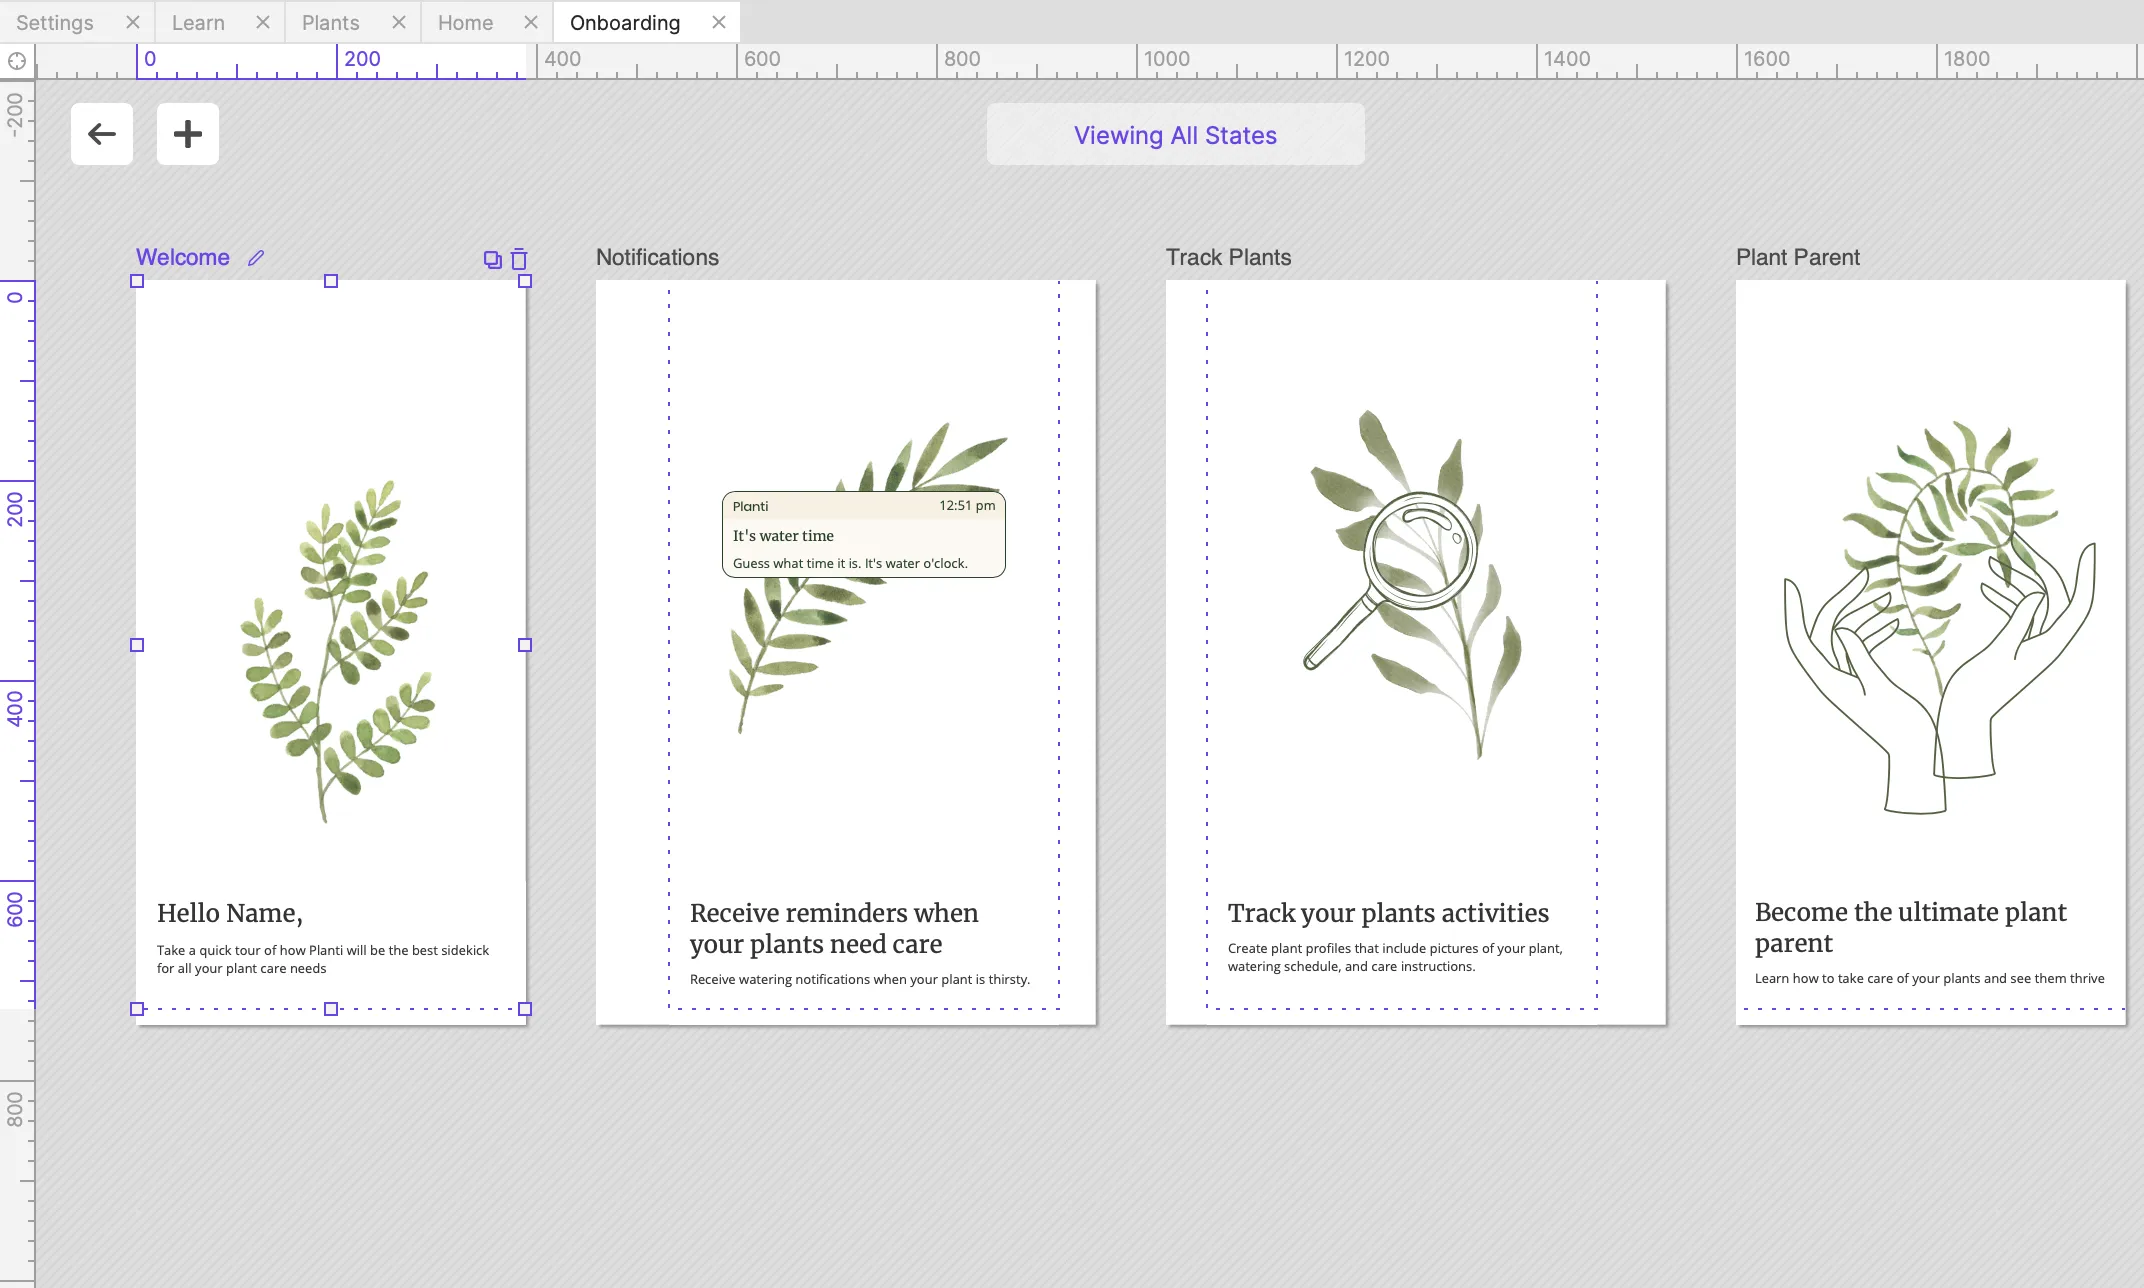
The dynamic panel widget has long been a defining feature of Axure RP. With the release of RP 10, we introduced the new All States View, which allows you to see all of the dynamic panel states side by side at the same time. You can also move and edit widgets in this view, so it's easy to compare and update your designs within the dynamic panel widget.
Tip 3: Rediscover Repeaters
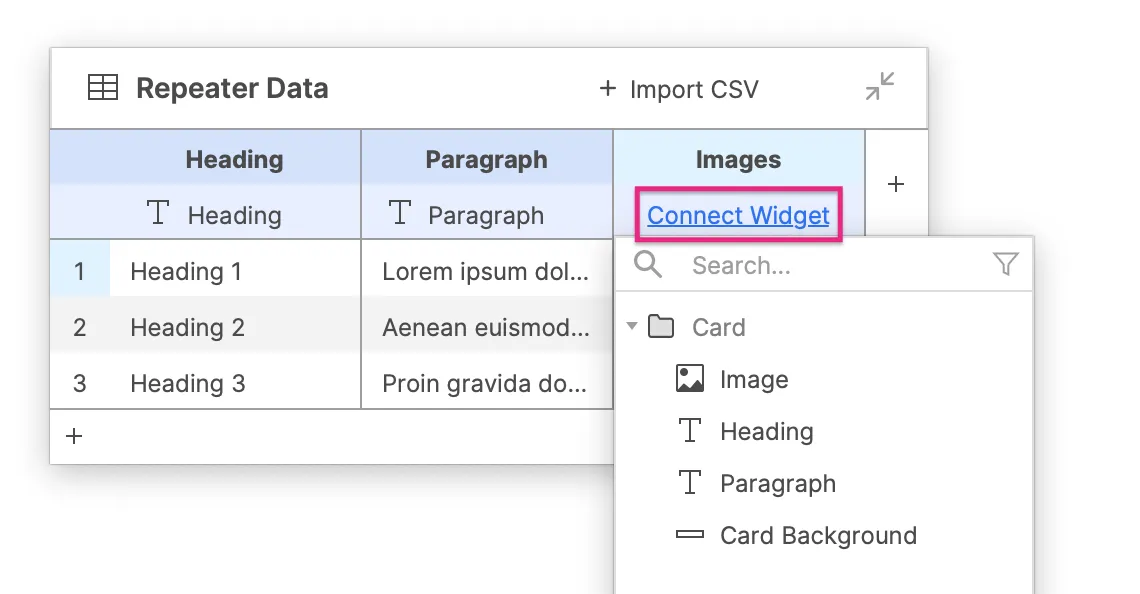
In Axure RP 10, repeaters are easier than ever to use. You now have two default repeater widgets to choose from: the repeater table and repeater card, and you can also convert widgets that you already have on the canvas into a repeater. The repeater dataset table is now floating and expandable, allowing you more flexibility to easily view all of your data at once. You can also quickly link data to a specific widget right from the dataset table as well. Check out this post to read more!
Tip 4: Use Negative Scrolling Regions
In both Axure RP 10 and Axure RP 9, you can scroll into the negative regions of the canvas while prototyping. This feature is great to utilize for situations like hiding any widgets that you don't want to have visible while previewing, such as an unfinished or alternate version of a widget. If you prefer to not scroll into the negative canvas regions, you can turn off this setting in the Canvas tab in the application preferences.
Tip 5: Sketch Effects is Revamped as the New Low-Fi Mode
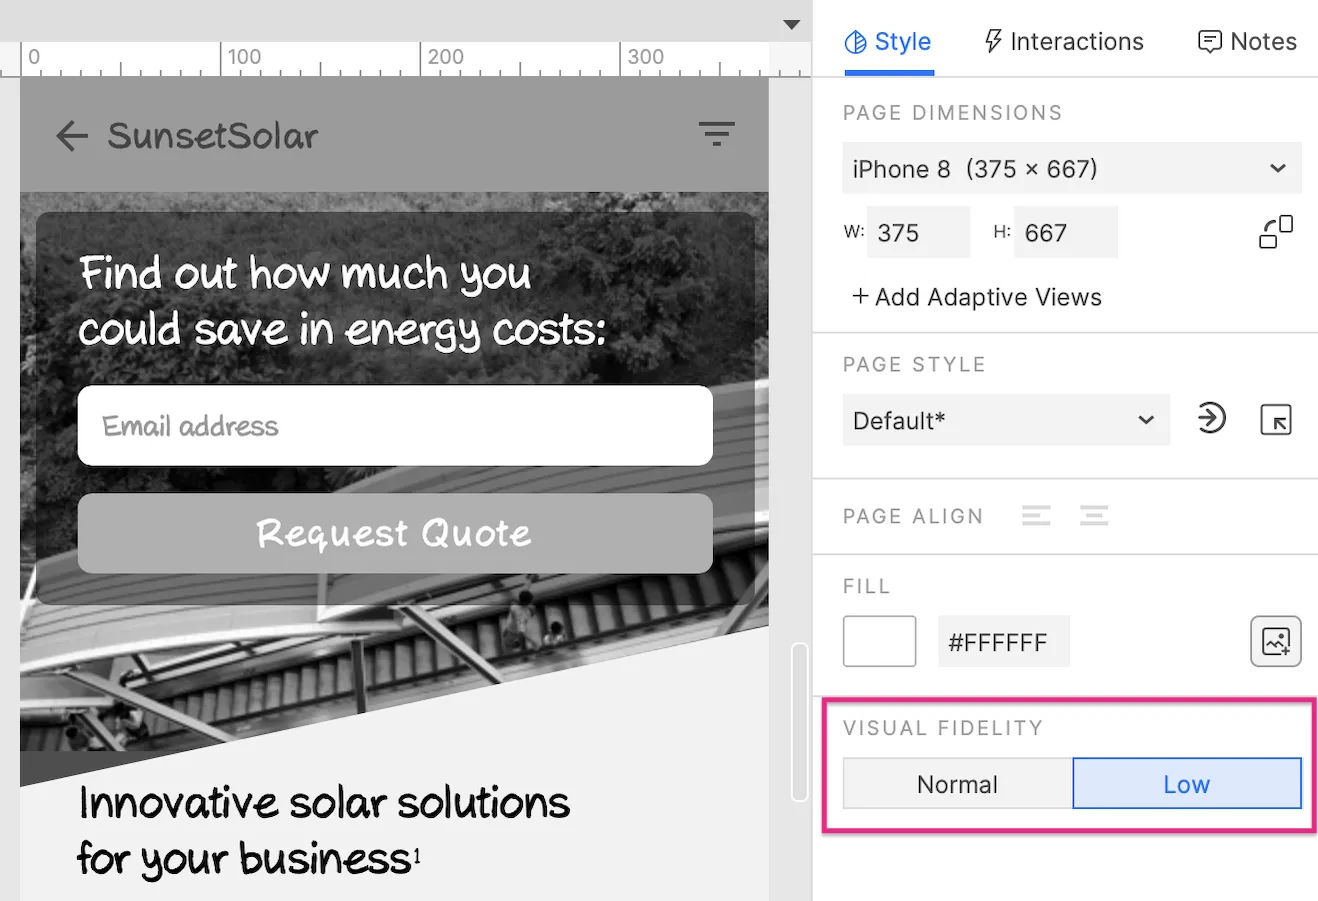
To instantly lower the visual fidelity of your prototype, try using Low-Fidelity mode, which is a setting available in the Style pane. Similar to the Sketch Effects from Axure RP 8, the Low-Fi mode will make your prototype grayscale and apply a handwriting font to take the attention away from colors and fonts and put the focus on functionality.