Tips for Quickly Prototyping Forms in Axure RP
With Axure RP, you can quickly create prototypes of forms with working text fields, droplists, checkboxes, and more. Here are some tips for prototyping forms faster.

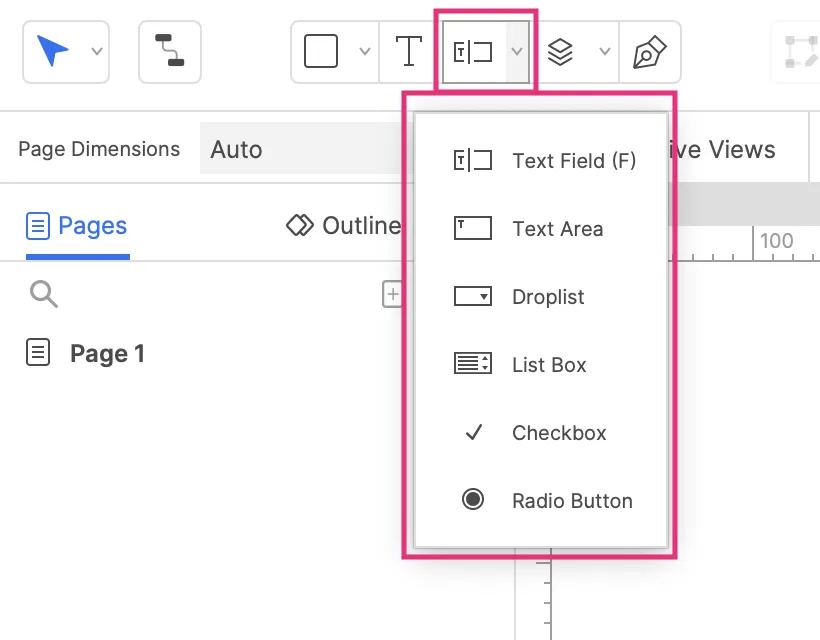
1. Drag or Draw Form Widgets
To add form elements to the canvas, you can simply drag and drop them from the Default library, or you can draw them using the Insert menu in the main toolbar. The fastest way to add a text field is to press F and either click on the canvas or click and drag to draw one to a specific size.
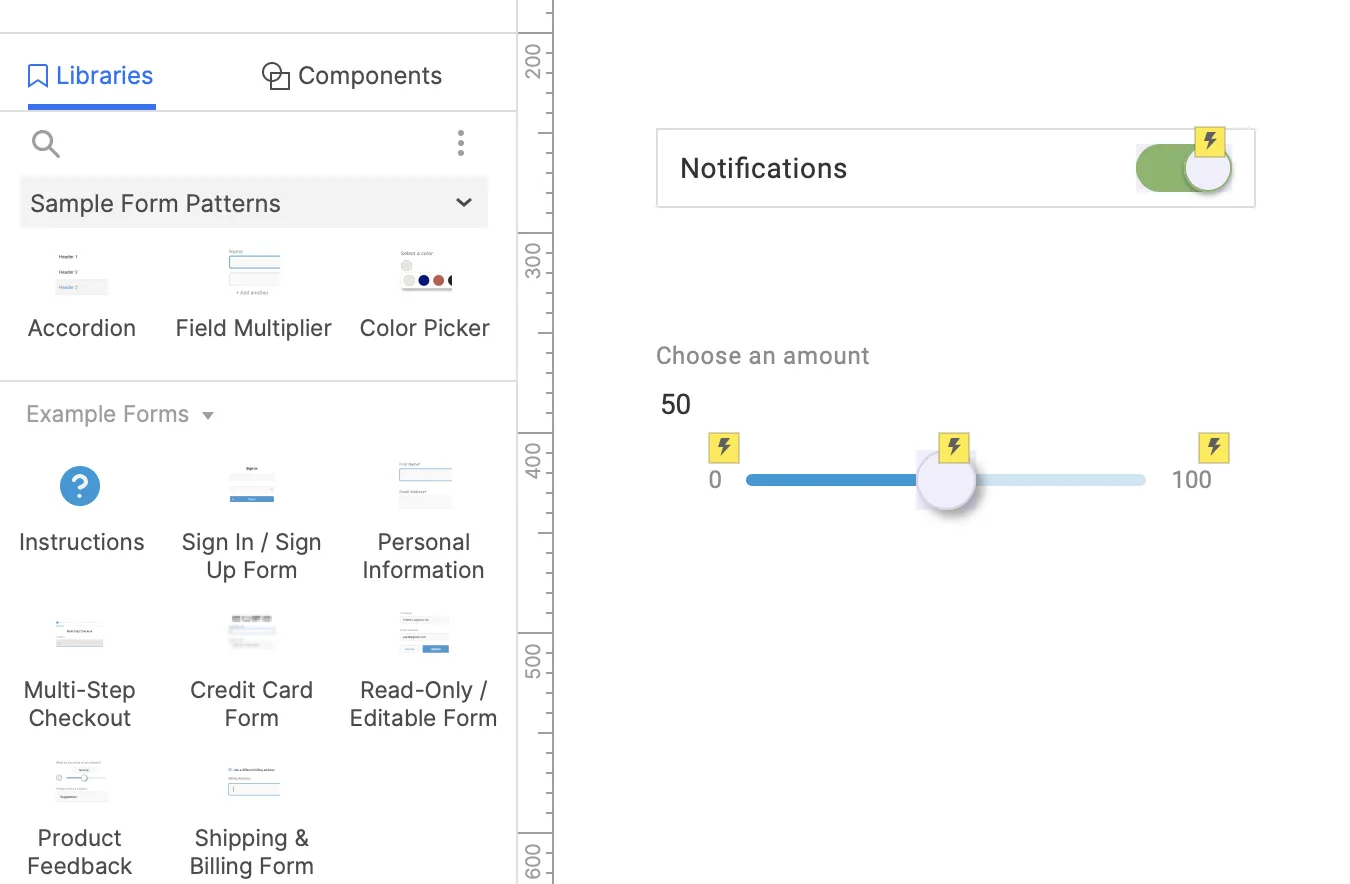
2. Explore the Sample Form Patterns library
If you click the dropdown menu at the top of the Libraries pane, you can open the Sample Form Patterns library. In it, you'll find a variety of common patterns found in forms such as switches, sliders, and even predictive search. The sample form patterns are interactive making them great starting points for your forms and also a great way to learn more about interactions. Drag one onto the canvas for a working form in less than 5 minutes.
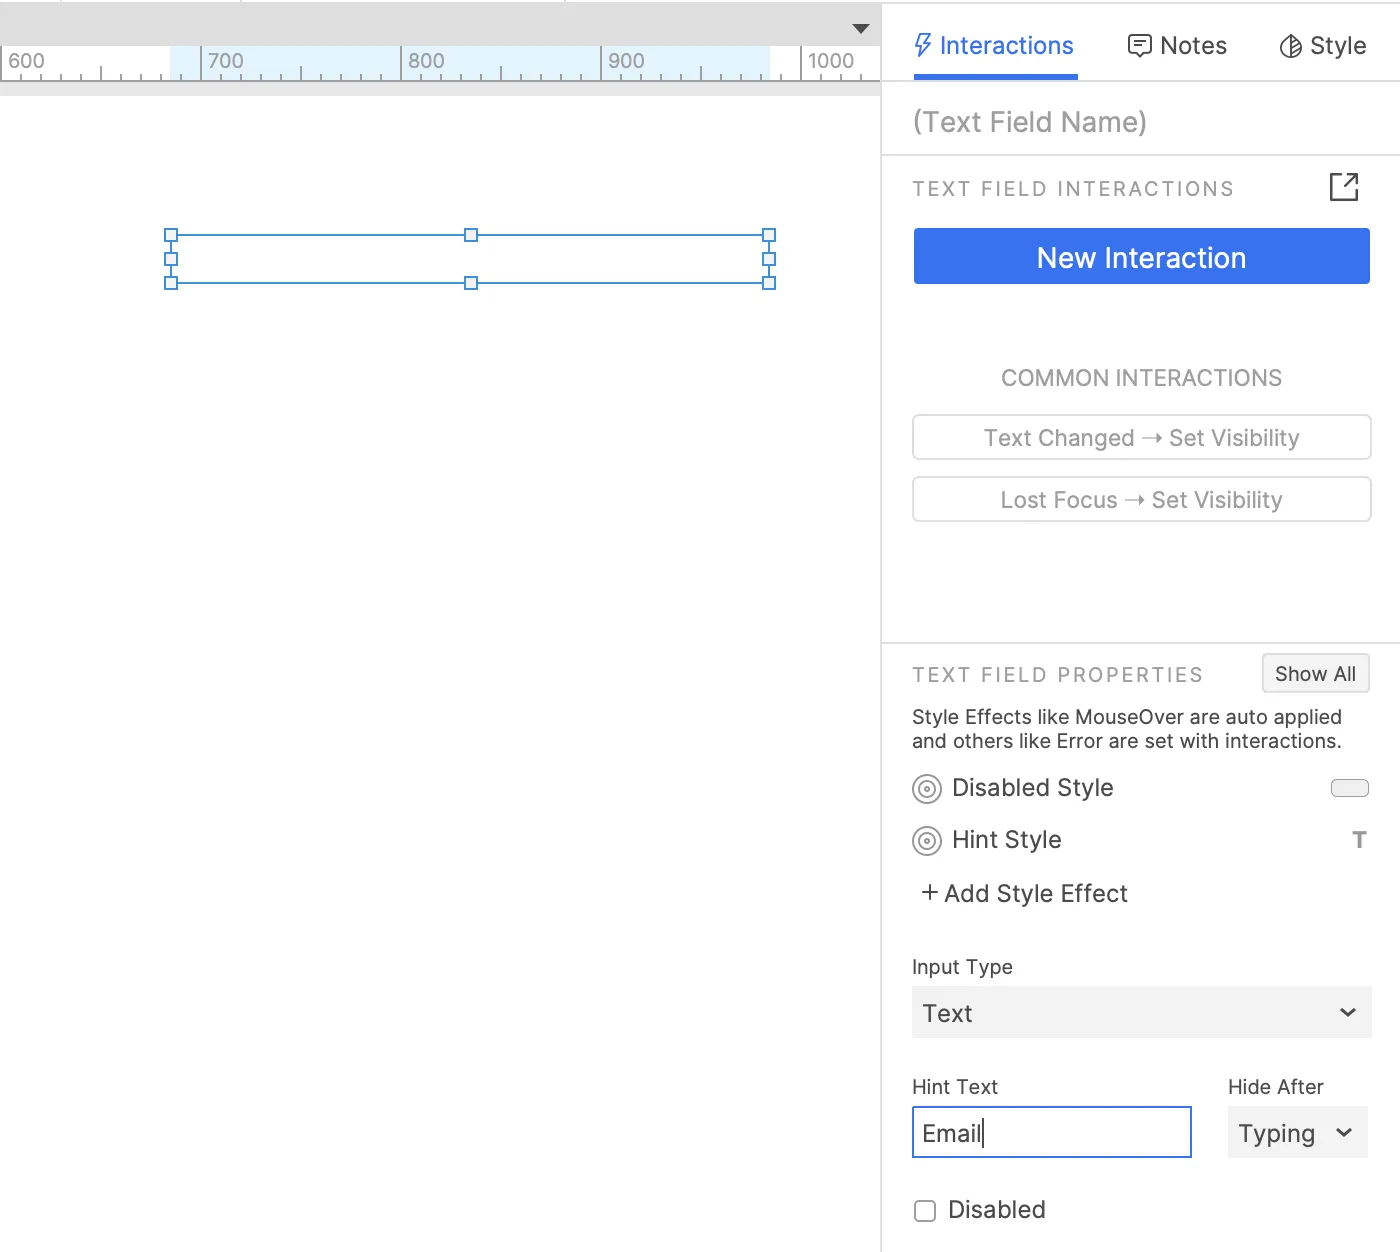
3. Use Interaction Properties for Hints, Styles, and More
With a form widget selected on the canvas, look in the Interactions pane to find interaction properties for those widgets. For example, you can easily set the hint text on a text field or set a radio button to be disabled. You can also use Style Effects to change how a form element looks when it is disabled or focused in the prototype.
4. Take Advantage of Form Widget Events
Form widgets have some additional interaction events that can be very helpful when making your forms dynamic. Here is a list of some of those events and how they can be used.
- Text Changed: Triggered while typing into a text field. Ex. Update a validation message while typing.
- Got Focus: Triggered when a text field gets the cursor. Ex. Show a tip when a user clicks into a field.
- Lost Focus: Triggered when a text field loses the cursor. Ex. Show a validation message when a user is done editing a field.
- Selection Changed: Triggered when an item is selected in a droplist. Ex. Show different fields depending on which item was selected.
- Selected: Triggered when a radio button or checkbox is checked. Ex. Show a message when a checkbox is checked.
- Unselected: Triggered when a radio button or checkbox is unchecked. Ex. Hide some fields when a checkbox is unchecked.
5. Interact with Form Widgets
There are a number of actions that can be used to dynamically set the value of form widgets or change how they behave. For example, you can set the text on a text field or disable a checkbox through an interaction. Here is a list of those actions.
- Set Text: Set text on text fields and text areas.
- Set Selected/Checked: Check a checkbox or radio button.
- Set Selected List Option: Change the selected item in a droplist of list box.
- Set Error State: Apply the error style on a form field.
- Enable/Disable: Enable or disable a form field.
We hope these tips help you prototype forms faster in Axure RP. If you have any questions or feedback, please contact support@axure.com.
Happy prototyping!