7 Tips for Navigating Widgets in Large Prototype Files
Even as an organized file builder, when you have layers of widgets in your larger prototypes, navigating through each element can be difficult. Here at Axure, we've seen projects with dozens of pages and thousands of widgets. Check out these 7 tips for identifying, selecting, and keeping track of all those widgets in your complex prototypes.
1. "Slow Click" to Select Widgets That are Behind Other Widgets
If you want to select a widget behind another widget without having to use the Outline pane, you can "slow click" to select the widgets behind the currently selected widget. To do so, click over the area of the widget you want to select. Then, without moving the cursor, click again. Continue doing this until the widget is selected.

2. Select Widgets Behind Other Widgets Using "Select Widget" From the Context Menu
Similar to the previous tip, if you want to select a widget behind another widget without having to use the Outline pane, you can right-click the area over the widget you would like to select, then choose Select Widget from the context menu, which will show a list of the widgets behind the area you right-clicked.

3. Hide Widgets From View
If you ever want to temporarily hide widgets on the canvas, you can use the Hide from View button in the Outline pane. This button will appear for Groups, Dynamic Panels, or Components and will hide them from your view on the canvas while editing, but they will still appear in the prototype.

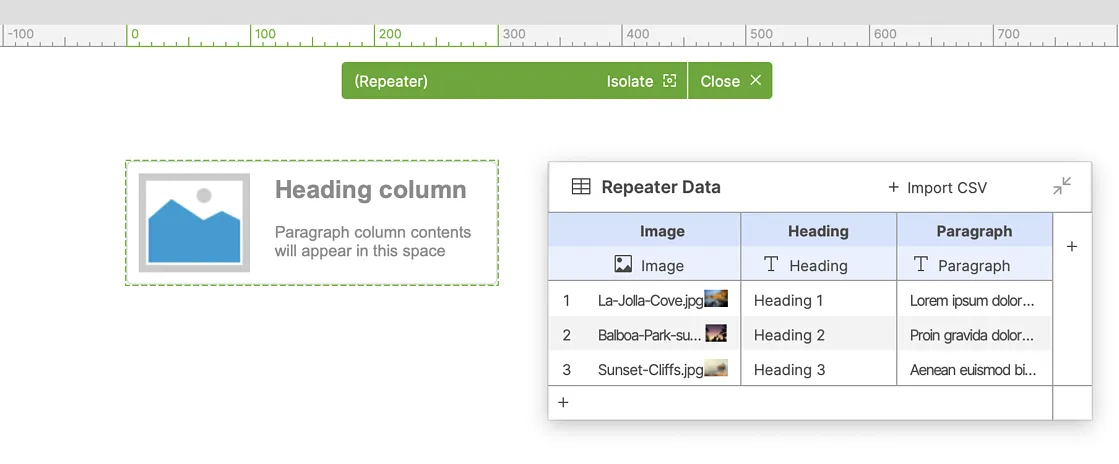
4. Hide Other Widgets When Editing Repeaters
In RP 10, you can now hide other widgets that are on the canvas when editing a repeater widget. To access this feature, double-click on the repeater to enter editing mode, and then select the Isolate button on the repeater's floating toolbar.
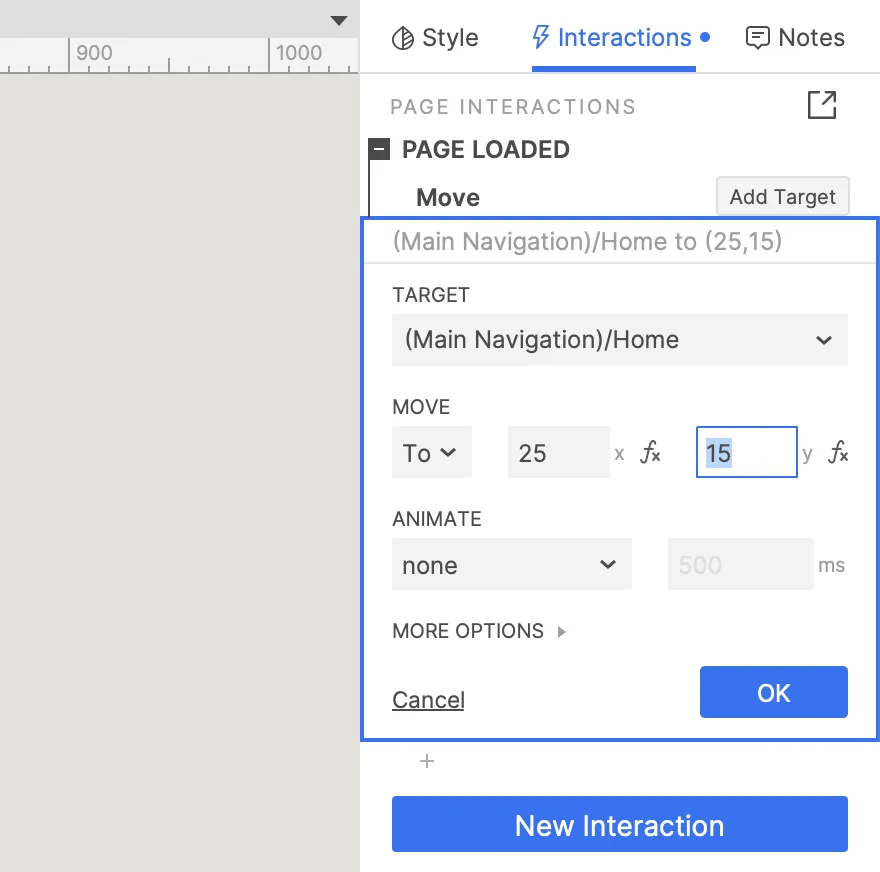
5. Use move actions on page load when working with multi-layer designs
If you are working with a multi-layered design and are having trouble editing buried widgets, try spacing them out on the canvas while editing, rather than having them layered on top of one another. Then, rather than moving them back and forth throughout the editing process, you can set up a Page Loaded interaction with a "Move" action to relocate them to the required location when the prototype is viewed. A great example of this is building a mobile prototype with a menu that expands from the top left. Rather than attempting to edit this menu while located on top of the rest of the design, you can instead edit it in an open space on the canvas and set up a Page Loaded > Move interaction targeting the widgets you need to relocate.
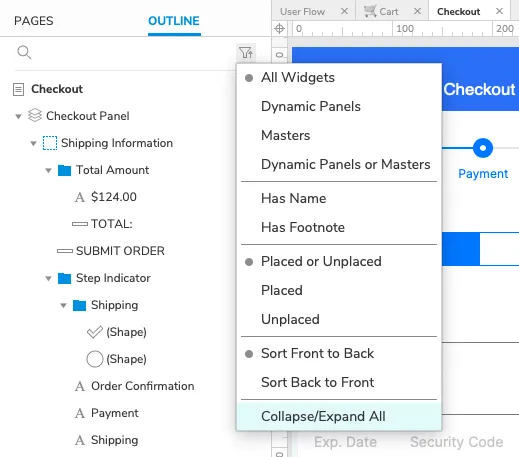
6. Collapse/Expand All in Outline
Quickly tidy up the Outline view by using the Collapse / Expand All button in the filter menu at the top-right of the Outline pane. Easily toggle between viewing the entire page contents and just the top-level groupings.
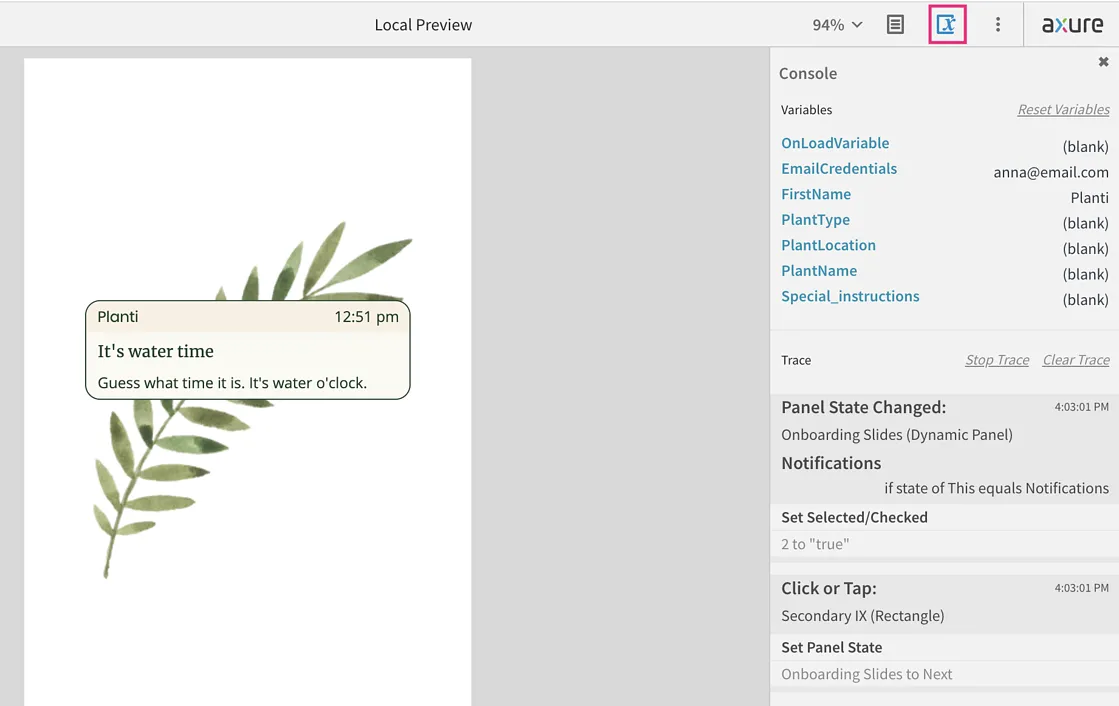
7. Keep Track of Interactions by Using "Start Trace" While Previewing
If you ever need to see a list of your prototype interactions, whether for documentation or troubleshooting purposes, you can do so when previewing your prototype. Start by opening the console panel, selecting Start Trace, and then triggering interactions and associated events as you interact with your prototype. This allows you to isolate interactions in any problem areas and make adjustments as needed.
We hope these tips help make your prototyping experience an even more seamless process, especially for your most complex and large projects. Have your own tips and tricks? Reach out to us at hello@axure.com and we'd love to include them in our next newsletter or blog post.